|
/*
* ESP8266 NodeMCU LED Control over WiFi Demo
*
* https://circuits4you.com
*/
#include <ESP8266WiFi.h>
#include <WiFiClient.h>
//ESP Web Server Library to host a web page
#include <ESP8266WebServer.h>
//---------------------------------------------------------------
//Our HTML webpage contents in program memory
const char MAIN_page[] PROGMEM = R"=====(
<!DOCTYPE html>
<html>
<body>
<center>
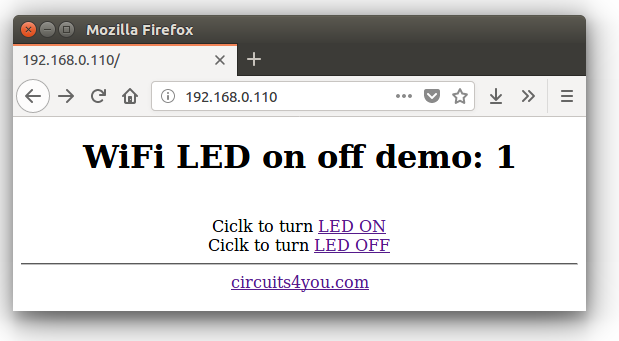
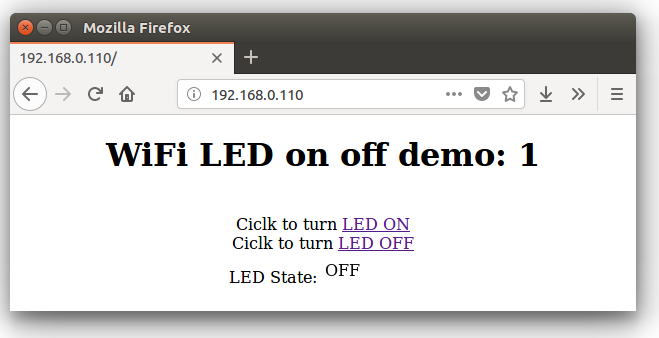
<h1>WiFi LED on off demo: 1</h1><br>
Ciclk to turn <a href="ledOn" target="myIframe">LED ON</a><br>
Ciclk to turn <a href="ledOff" target="myIframe">LED OFF</a><br>
LED State:<iframe name="myIframe" width="100" height="25" frameBorder="0"><br>
<hr>
<a href="https://circuits4you.com">circuits4you.com</a>
</center>
</body>
</html>
)=====";
//---------------------------------------------------------------
//On board LED Connected to GPIO2
#define LED 2
//SSID and Password of your WiFi router
const char* ssid = "circuits4you.com";
const char* password = "123456789";
//Declare a global object variable from the ESP8266WebServer class.
ESP8266WebServer server(80); //Server on port 80
//===============================================================
// This routine is executed when you open its IP in browser
//===============================================================
void handleRoot() {
Serial.println("You called root page");
String s = MAIN_page; //Read HTML contents
server.send(200, "text/html", s); //Send web page
}
void handleLEDon() {
Serial.println("LED on page");
digitalWrite(LED,LOW); //LED is connected in reverse
server.send(200, "text/html", "ON"); //Send ADC value only to client ajax request
}
void handleLEDoff() {
Serial.println("LED off page");
digitalWrite(LED,HIGH); //LED off
server.send(200, "text/html", "OFF"); //Send ADC value only to client ajax request
}
//==============================================================
// SETUP
//==============================================================
void setup(void){
Serial.begin(115200);
WiFi.begin(ssid, password); //Connect to your WiFi router
Serial.println("");
//Onboard LED port Direction output
pinMode(LED,OUTPUT);
//Power on LED state off
digitalWrite(LED,HIGH);
// Wait for connection
while (WiFi.status() != WL_CONNECTED) {
delay(500);
Serial.print(".");
}
//If connection successful show IP address in serial monitor
Serial.println("");
Serial.print("Connected to ");
Serial.println(ssid);
Serial.print("IP address: ");
Serial.println(WiFi.localIP()); //IP address assigned to your ESP
server.on("/", handleRoot); //Which routine to handle at root location. This is display page
server.on("/ledOn", handleLEDon); //as Per <a href="ledOn">, Subroutine to be called
server.on("/ledOff", handleLEDoff);
server.begin(); //Start server
Serial.println("HTTP server started");
}
//==============================================================
// LOOP
//==============================================================
void loop(void){
server.handleClient(); //Handle client requests
}
|